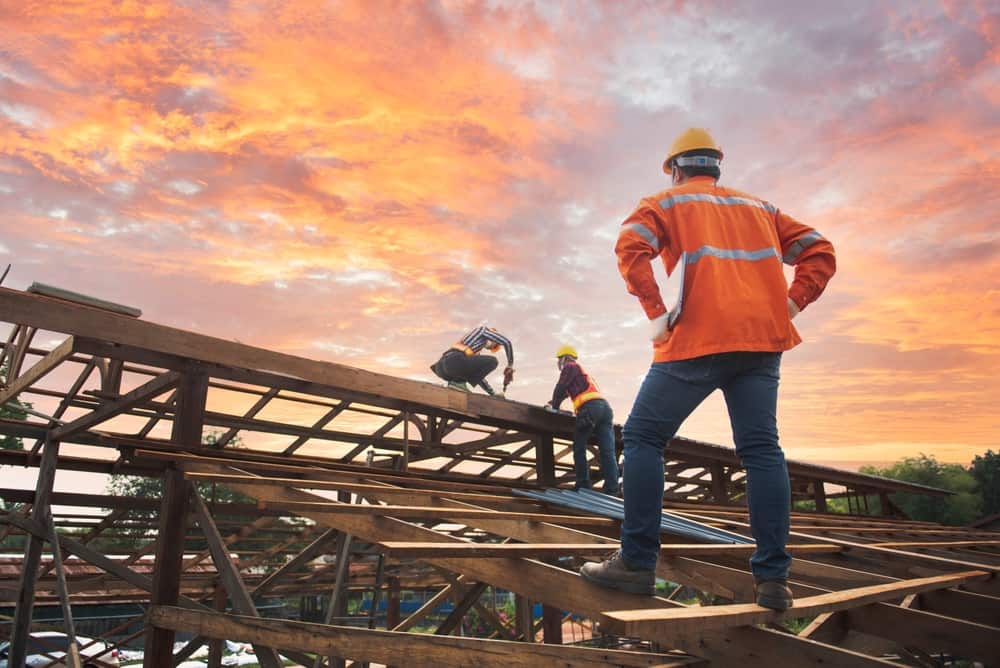
Your Trusted Siding Company in Suffolk County
Introduction to Hardie Board Siding
Hardie board siding, also known as fiber cement siding, is a popular choice among homeowners due to its durability, versatility, and aesthetic appeal. If you’re considering a siding upgrade for your home, you’ve come to the right place. In this guide, FMF Construction, your go-to siding company in Suffolk County, will walk you through the essential steps of installing Hardie board siding. Whether you’re a seasoned DIY enthusiast or planning to hire a professional, these expert tips will ensure a successful siding installation project.
Gathering Your Tools and Materials
Before diving into the siding installation process, it’s crucial to gather all the necessary tools and materials. Here’s a list of items you’ll need:
- Hardie board siding panels
- Galvanized nails or screws
- Circular saw with a fiber cement blade
- Measuring tape
- Level
- Safety gear (goggles, dust mask, gloves)
- Utility knife
- Caulk and caulk gun
- House wrap
- Flashing and trim boards
Ensure you have these items ready to streamline the installation process and minimize any interruptions.
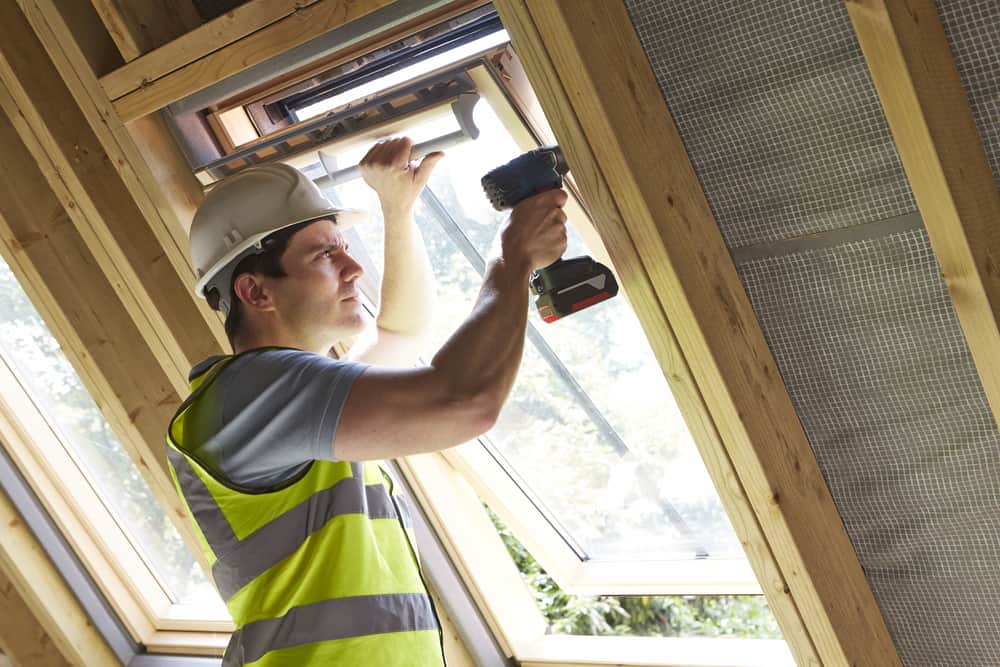
Preparing Your Home Exterior
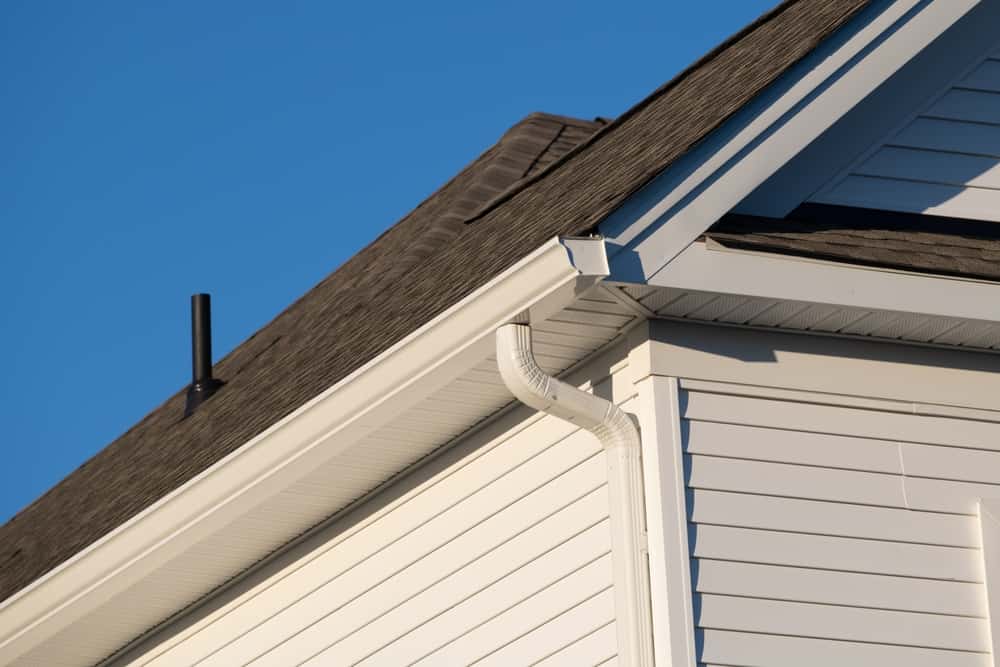
Proper preparation of your home’s exterior is crucial for a successful siding installation. Start by removing the old siding, if applicable. Inspect the sheathing for any damage and make necessary repairs. Install house wrap to provide an extra layer of protection against moisture and drafts. Ensure that the surface is clean and debris-free before proceeding with the installation.
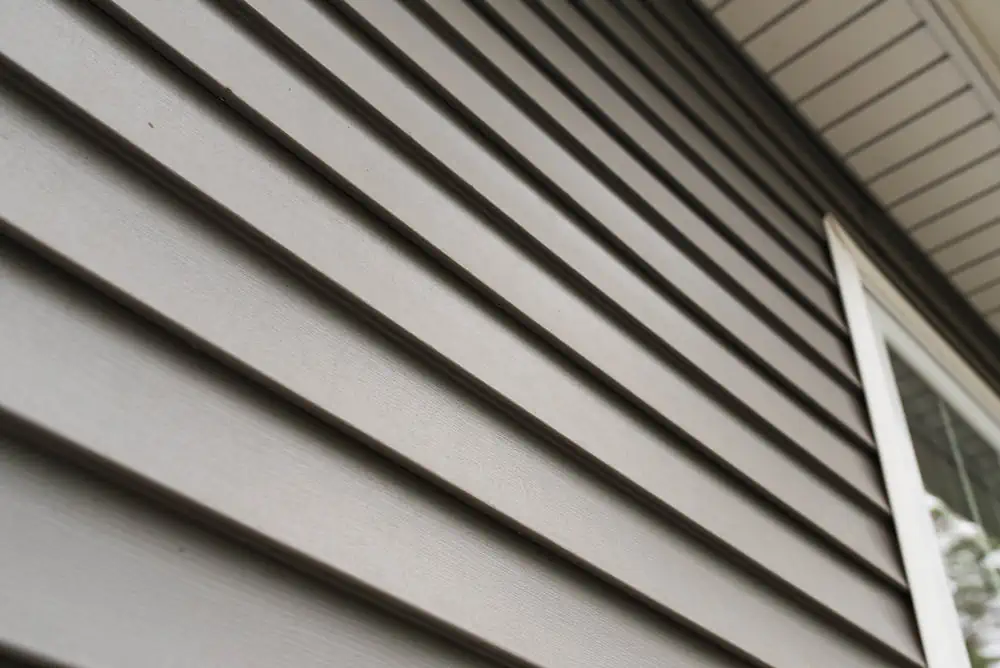
Installing Hardie Board Siding Panels
Now, let’s get into the heart of the installation process. Follow these steps:
- Measure and mark: Measure the length of your wall and mark where each siding panel will go. Ensure proper spacing between panels for expansion and contraction.
- Cut the panels: Use a circular saw with a fiber cement blade to cut the Hardie board siding panels to the required lengths. Remember to wear safety gear while cutting.
- Install the starter strip: Begin at the bottom of the wall by attaching a starter strip. This strip provides a level base for your siding panels.
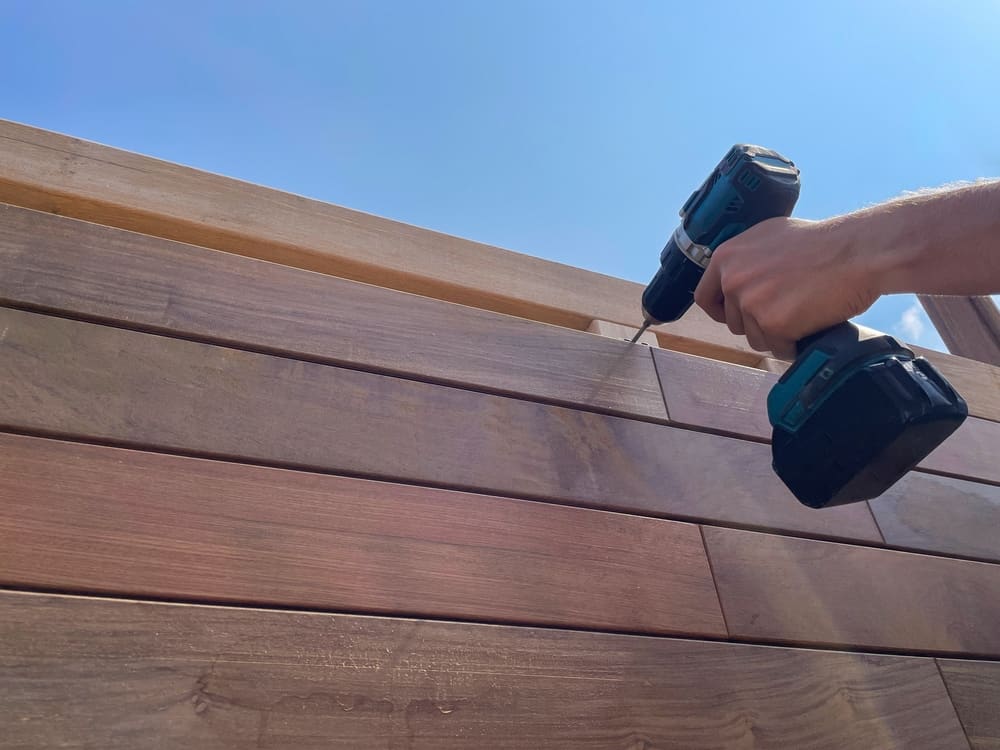
- Nail or screw the panels: Secure the siding panels to the wall, leaving a small gap at the edges for expansion. Use galvanized nails or screws and follow the manufacturer’s guidelines for spacing and fastening.
- Overlap the panels: Install subsequent panels, overlapping them slightly to create a seamless look.
- Trim and flash: Cut and install trim boards around windows, doors, and corners. Apply flashing to areas where water might seep in.
- Caulk and paint: Seal the gaps between siding panels and trim with caulk. Finally, paint the siding with a high-quality exterior paint to protect it from the elements.
Benefits of Hardie Board Siding Installation
Choosing Hardie board siding offers numerous benefits, including:
- Durability: Hardie board is resistant to rot, pests, and extreme weather conditions, ensuring a long lifespan.
- Low maintenance: It requires minimal upkeep and doesn’t need frequent repainting.
- Aesthetic appeal: With a wide range of colors and styles, you can achieve the look you desire for your home.
- Energy efficiency: Hardie board provides excellent insulation, helping to reduce energy costs.
- Increased home value: Installing Hardie board siding can enhance your home’s curb appeal and resale value.

Choose FMF Construction for Your Siding Installation Needs
When it comes to siding installation, choosing the right siding company is essential. FMF Construction, based in Suffolk County, has a proven track record of delivering high-quality siding installation services. Our experienced team is well-versed in the intricacies of working with Hardie board siding, ensuring a flawless installation that will stand the test of time.
Contact FMF Construction today to discuss your siding project and receive a free consultation. Let us transform your home with beautiful and durable Hardie board siding.